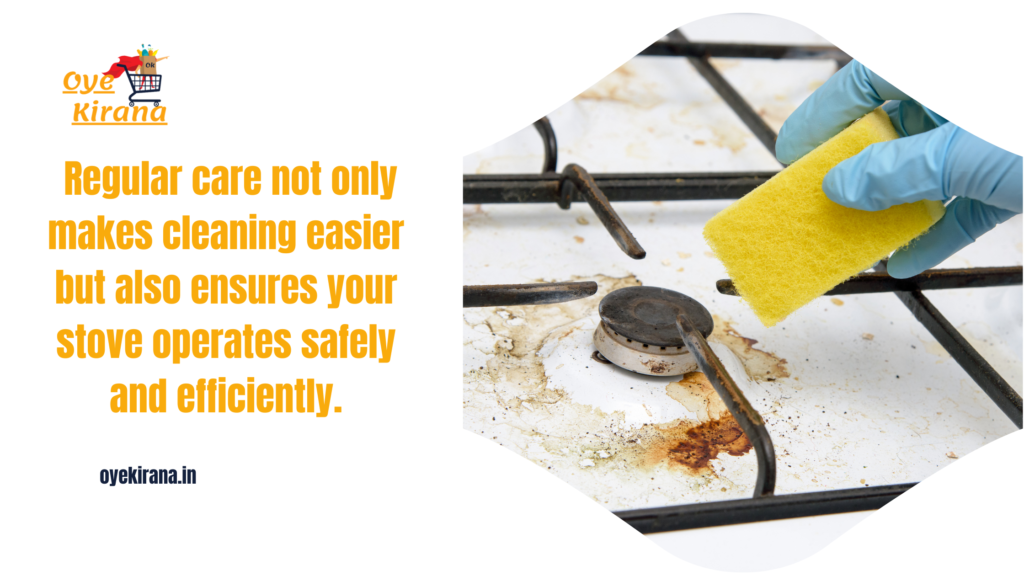
Understanding how to clean gas burner is vital for keeping your kitchen safe and your stove in top working condition. Over time, food spills, grease, and grime can build up on the burners, creating blockages that affect the flow of gas and result in uneven heating. This can make cooking inefficient, with some burners failing to ignite properly or delivering weak flames. Worse, dirty burners can pose safety risks, such as potential gas leaks or flame instability, which can be dangerous if left unchecked.
By regularly cleaning your gas burners, you not only ensure that your stove performs at its best but also prolong its lifespan. Clean burners promote better energy efficiency, allowing gas to flow smoothly and evenly, which leads to faster cooking times and consistent heat distribution. Moreover, maintaining clean burners reduces the risk of costly repairs and enhances overall kitchen safety. Therefore, integrating a simple cleaning routine into your kitchen care regimen can make a significant difference in performance and safety.
Tools And Materials You’ll Need
When it comes to how to clean gas burners, having the right tools and materials is crucial for achieving a thorough clean without damaging your stove. Dirty burners can be tough to clean, especially if grease and food particles have been baked onto the surface over time. With the proper cleaning supplies, you can remove this buildup safely and efficiently, restoring your burner’s performance.
Here’s a detailed list of tools and materials to help you clean gas burners like a pro:
- Warm water: Essential for loosening grime and dissolving hardened food debris. Warm water can be used to soak burner grates and caps, making them easier to scrub later.
- Dish soap: A mild dishwashing liquid works wonders for breaking down grease and oil residue. Combine it with warm water to soak removable parts or use it with a sponge for surface cleaning.
- Baking soda: This natural, gentle abrasive is great for tackling stubborn stains. Baking soda not only helps lift grease but also eliminates odors. You can make a paste with water to scrub away tough spots on the burners.
- White vinegar: Known for its degreasing properties, vinegar can cut through tough grease and leave surfaces shining. It also acts as a natural disinfectant, helping to kill bacteria that may have accumulated on your burners.
- Old toothbrush or soft-bristled brush: These are perfect for scrubbing tricky areas that a cloth or sponge can’t reach, such as burner grates, small holes, and grooves. A toothbrush’s bristles are soft enough to prevent scratches while being firm enough to lift stuck-on food.
- Toothpicks or a sewing needle: These small tools come in handy for unclogging the burner ports or gas holes, which can become blocked with food particles or grease. Clearing these holes ensures that gas flows evenly and the burner functions properly.
- Soft cloth or sponge: Use a non-abrasive cloth or sponge to wipe down the stove’s surface, ensuring that it doesn’t get scratched. After cleaning, you can use the cloth for a final wipe to remove any excess residue.
- Safety gloves: Cleaning agents and grease can be harsh on your skin, so wearing gloves will protect your hands throughout the cleaning process. They also provide better grip when handling slippery, wet items.
Having these tools and materials on hand will streamline the cleaning process and help you maintain clean, efficient gas burners. Whether you’re doing a routine clean or tackling more stubborn grime, these supplies are essential for keeping your kitchen safe and your stove in optimal working condition.
Step-By-Step Guide On How To Clean Gas Burners
Cleaning gas burners may seem like a daunting task, but with the right approach, it’s straightforward and highly rewarding. Follow this step-by-step guide to keep your burners functioning efficiently and safely.
1. Turn Off the Gas Supply
- Before starting, ensure your gas stove is completely turned off. It’s essential to disconnect or turn off the gas supply to avoid any risks while cleaning.
- Allow the burners to cool down completely before handling them to prevent burns or injuries.
2. Remove Burner Grates and Caps
- Carefully lift the burner grates and caps off the stove. These are typically removable, making it easier to clean them separately.
- If your stove has separate burner heads, you can also remove them to clean thoroughly.
3. Soak the Burner Grates and Caps
- Fill your sink or a large basin with warm water and a few drops of dish soap.
- Submerge the grates and caps in the soapy water and let them soak for at least 15-20 minutes to loosen up grease, food residue, and grime.
4. Scrub the Burner Grates and Caps
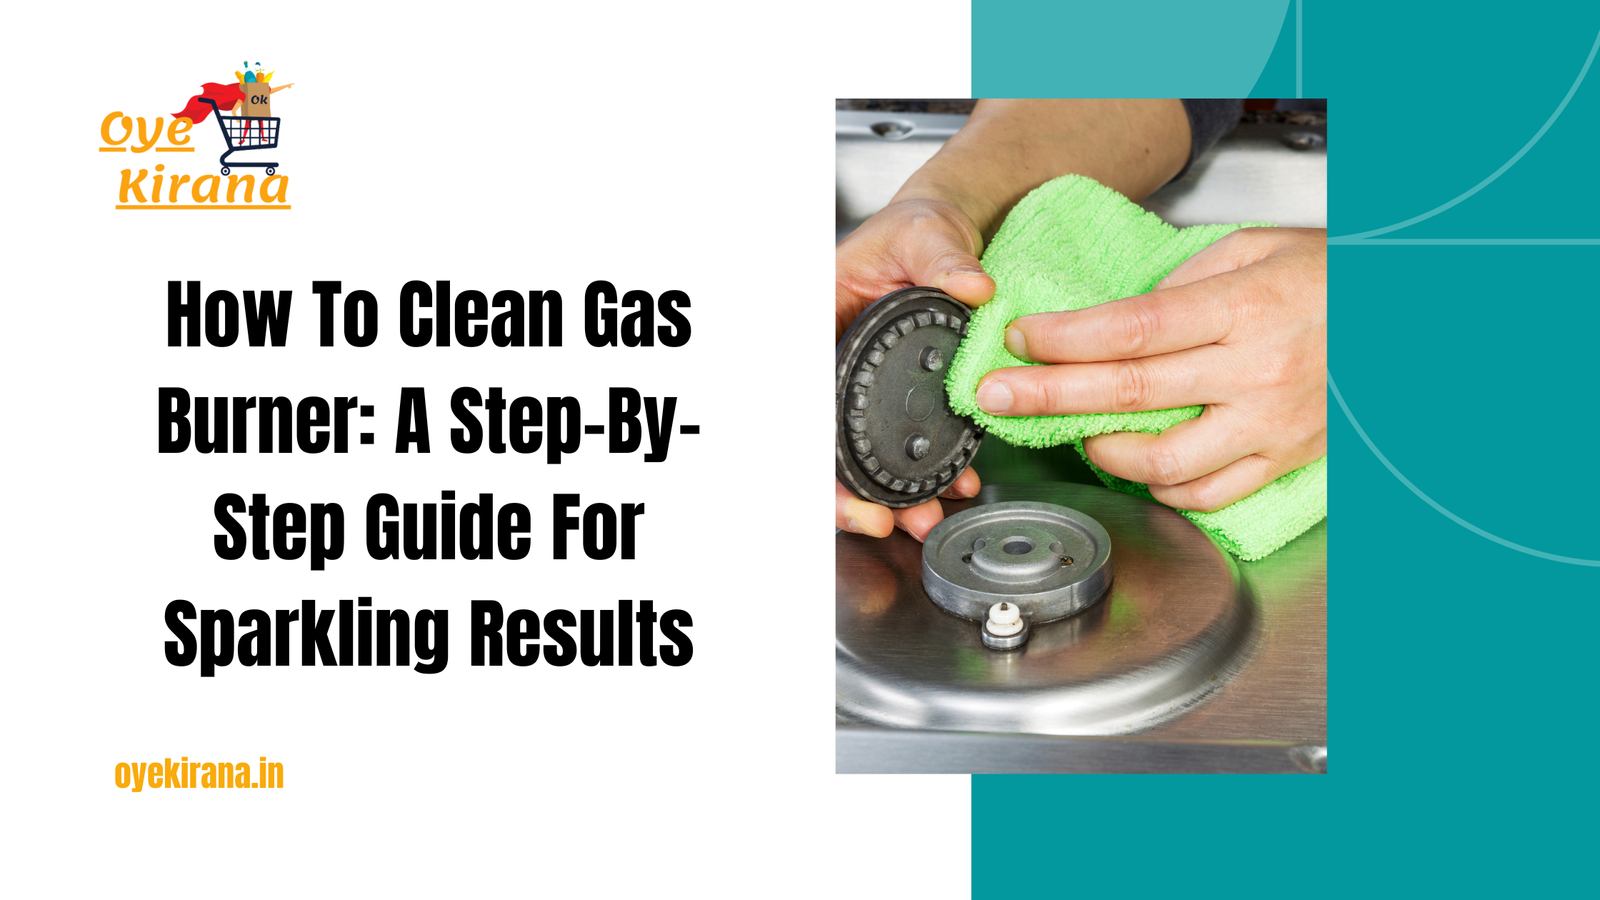
- After soaking, use a sponge, soft cloth, or old toothbrush to scrub away any remaining grease or food particles from the grates and caps.
- For tougher stains, sprinkle baking soda onto the surface and scrub gently with a brush.
- Rinse thoroughly with clean water and set them aside to dry.
5. Clean the Burner Holes
- Use a needle, toothpick, or small brush to carefully clean out the gas burner holes. Over time, debris can get lodged in these holes, blocking the flow of gas and affecting how well the burner ignites.
- Be sure to clear out any clogs to ensure smooth gas flow and even heating.
6. Wipe Down the Gas Stovetop
- While the grates and caps are soaking, take a soft cloth or sponge to wipe down the stovetop.
- Use a mixture of vinegar and water or soapy water to clean grease and food splatters from the surface. Pay special attention to the areas around the burner ports and controls.
- For stubborn spots, apply a baking soda and water paste to the stains and scrub gently.
7. Rinse and Dry Everything Thoroughly
- Once all the parts have been cleaned, rinse them well to ensure no soap or cleaning solution residue remains.
- Allow everything to dry completely before reassembling. You can also wipe them down with a dry cloth or towel to speed up the drying process.
8. Reassemble the Burners
- Once all the parts are dry, reassemble the burner grates, caps, and heads back onto the stove.
- Ensure everything is correctly aligned and securely in place before turning the gas back on.
9. Test the Burners
- After reassembling, turn the gas back on and ignite the burners to check for proper functioning. Ensure the flame is steady and burns evenly.
Tips For Maintaining Clean Gas Burners
To ensure your gas stove performs optimally, it’s important to follow a few maintenance practices. Learning how to clean gas burners regularly and taking preventive measures can keep grime buildup at bay, extend the lifespan of your burners, and improve efficiency.
1. Clean Spills Immediately
- Wipe down any spills or splatters as soon as they occur, especially if they involve sticky or greasy substances. This prevents food and grease from hardening onto the burners and becoming difficult to clean later.
2. Perform Regular Cleaning
- Make it a habit to clean your gas burners at least once a week, even if they don’t look particularly dirty. Regular cleaning prevents grease, food particles, and debris from building up over time.
- You don’t always need to do a deep clean. A quick wipe with a damp cloth after each use can help maintain cleanliness.
3. Use Drip Pans
- Consider using drip pans beneath your burners to catch spills and crumbs. Drip pans are easier to clean and can help prevent food from reaching the burner components, reducing the need for frequent deep cleaning.
4. Avoid Harsh Chemicals
- Stick to mild cleaners like dish soap, vinegar, and baking soda when cleaning gas burners. Avoid using harsh chemicals that can damage the burner surface or leave behind residue, which can affect the quality of the flame.
5. Inspect Burner Holes Regularly
- Regularly check the burner holes to ensure they aren’t clogged with food or grease. Blocked holes can result in uneven gas flow, leading to inconsistent heating or difficulty igniting the burner.
6. Prevent Grease Buildup
- Use a splatter guard or cover pots and pans with lids to minimize grease splatter when cooking. Less grease on the burners means less frequent and easier cleaning.
7. Soak Removable Parts Periodically
- Every few weeks, remove the burner grates and caps to soak them in warm, soapy water or a vinegar solution. Soaking softens any hardened grime, making it easier to clean.
8. Check for Wear and Tear
- Regularly inspect the condition of your gas burners and other components for signs of wear, rust, or damage. Replace worn-out parts as needed to ensure the burners work efficiently and safely.
9. Keep the Stovetop Dry
- After cleaning your gas burners, make sure everything is completely dry before reassembling and using the stove again. Moisture can interfere with gas flow or create rust over time.

Conclusion
Maintaining clean gas burners is essential for ensuring both efficiency and safety in your kitchen. By following the steps outlined in this guide on how to clean gas burners and implementing regular maintenance practices, you can keep your burners functioning optimally while extending their lifespan.
If you found this information helpful, please share this article with friends and family who may benefit from these cleaning tips. Don’t forget to like and comment below with your own gas burner cleaning tips or any questions you may have! Your engagement helps us create more valuable content for you


